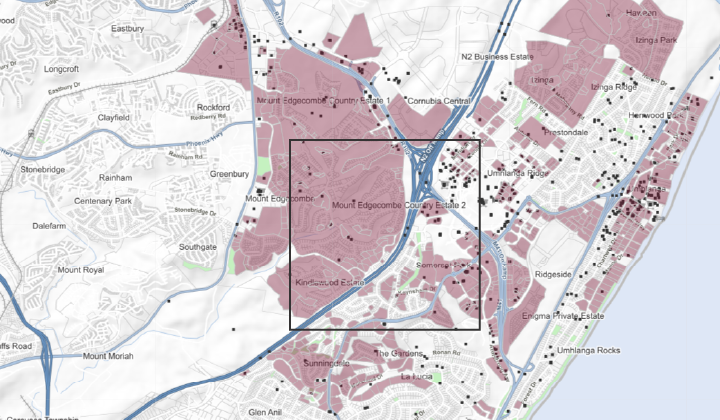
WFS layer in GIS desktop applications
AfriGIS data can be added as WFS layers to maps in GIS desktop applications. For this example, the desktop GIS software QGIS will be used. Though the process might differ slightly from other GIS packages, the connection URL will be the same.
How to add a WFS layer
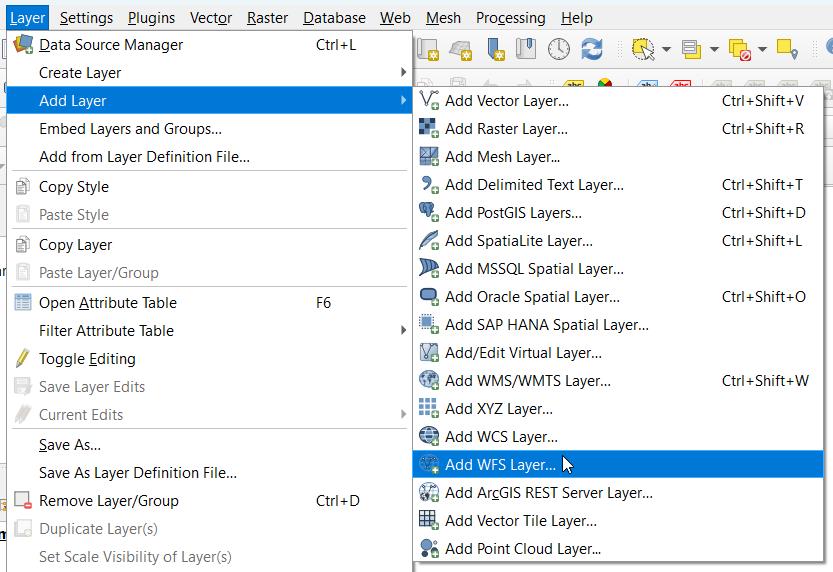
- In the project, select the option to add a new WFS layer.
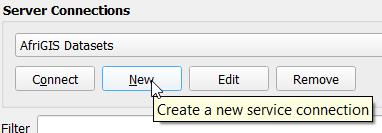
- Select to create a new service connection.
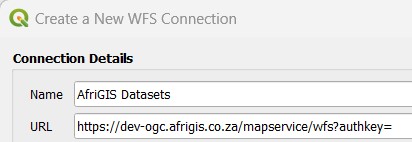
- Enter a name for the service connection, for example AfriGIS datasets.

- Copy the URL, with the unique Auth key provided, into the URL field.
- Sample URL
https://ogc.afrigis.co.za/mapservice/wfs?authkey=_YOUR_KEY_HERE_
- We strongly advise, in the WFS Options, to change the version from Maximum to v1.0.
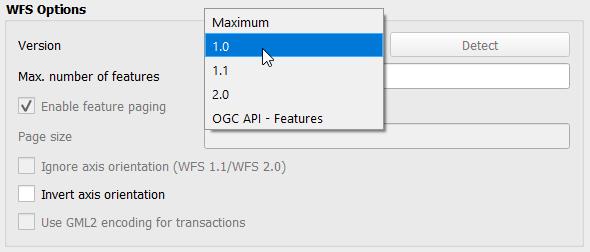
- Click okay to close this window.
- Select Connect to load the layers for which access was provided.

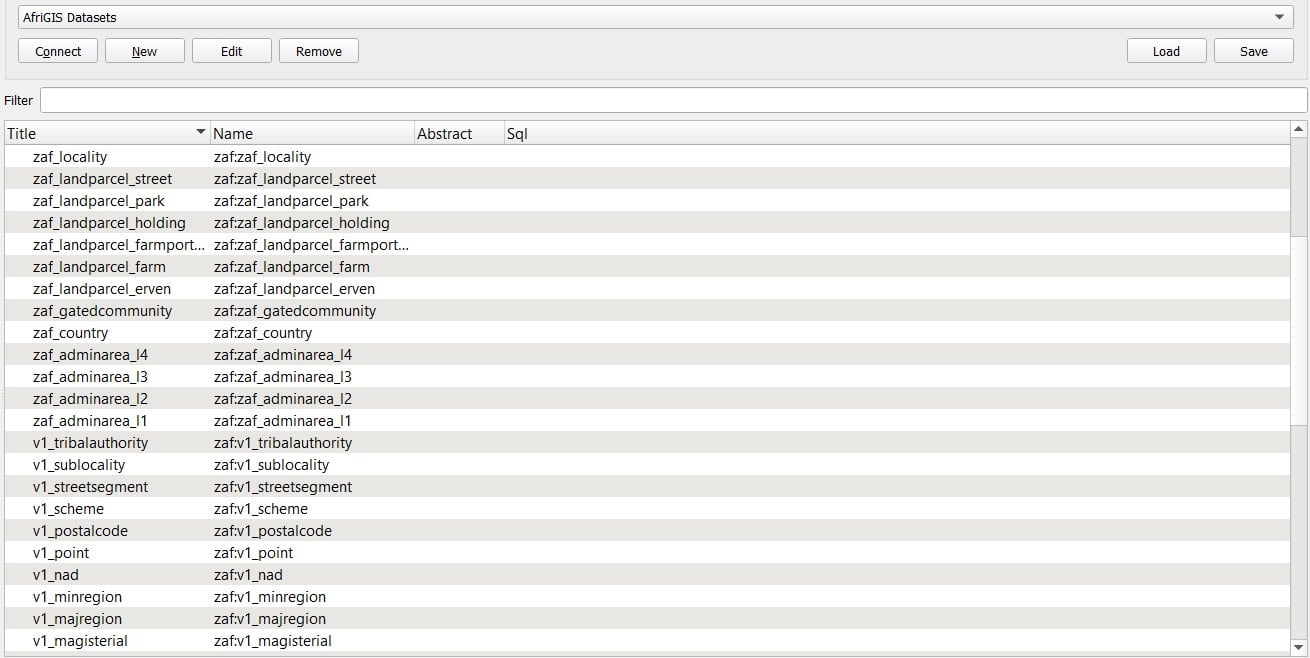
- Select the required layer and press Add.
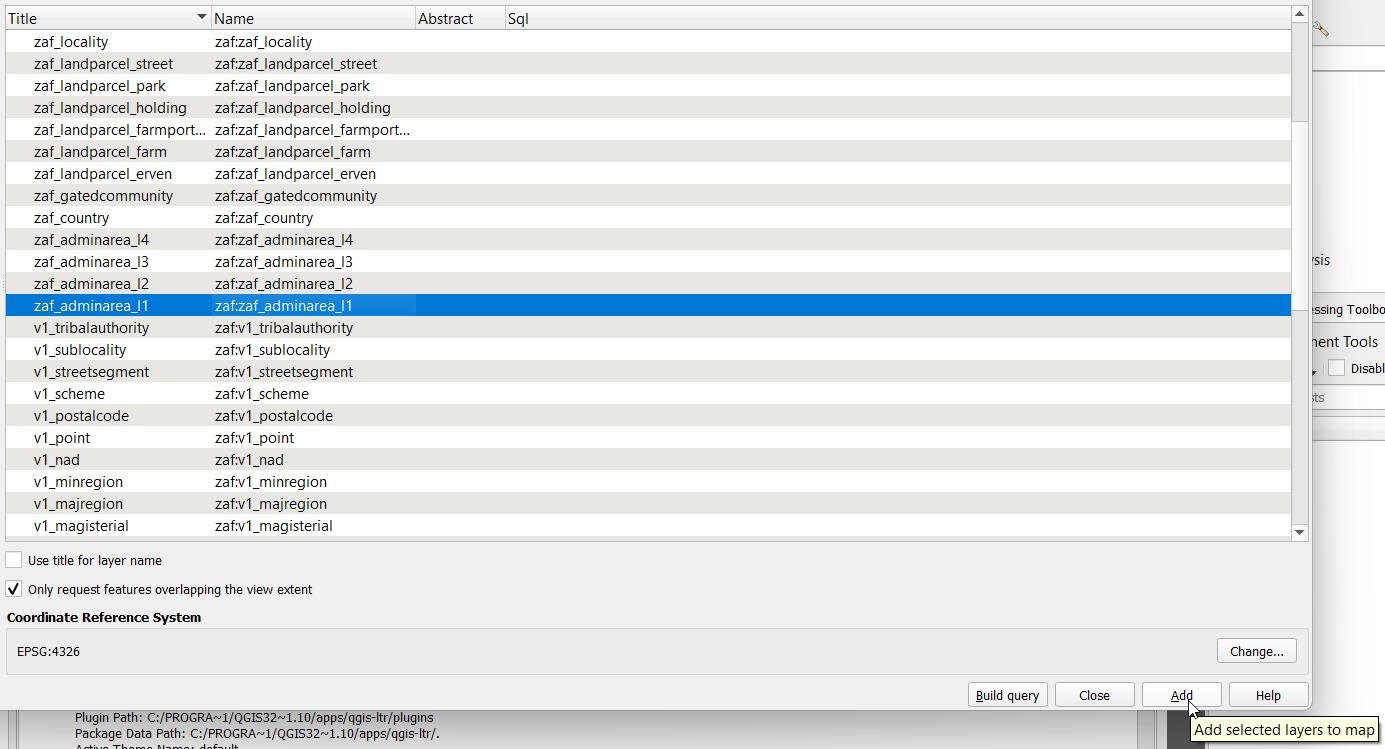
- The layer will now appear in the layers list and on the map canvas.

- Repeat the last step to add additional layers.
Note: Using WFS Version 2.0
If WFS Version2.0 absolutely must be used, then please disable feature paging:
- Follow the above steps up to the version selection.
- Select version = v2.0.
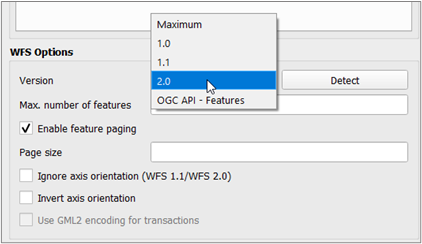
- Then uncheck/de-select the “Enable feature paging” option.
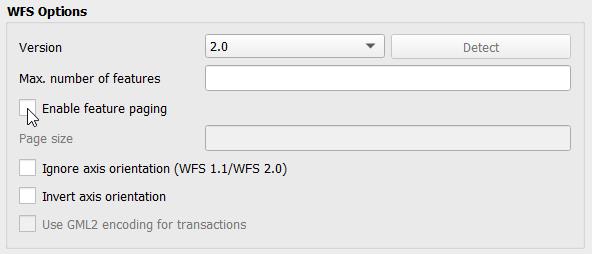
- Proceed with the same steps, as above, to connect.
Authentication
These products make use of an AuthKey for authentication. To integrate, sign up for a free trial account by contacting [email protected]
For detailed integration instructions using an AuthKey, please click on the following link: https://developers.afrigis.co.za/authkey-authentication/
To view technical documentation describing the details of data via WFS, click on the button below.